Have you ever attempted to DIY Family Photos and it turned into an absolute disaster?
We all want those amazing Pinterest Worthy Family Photos to place on our holiday cards or to hang above the fireplace.
But let’s be real.
Hiring a professional photographer may not be in everyone’s budget.
Especially with the seemingly never-ending price gauges that are hitting our wallets hard these days.
What if I told you that you don’t need to be a professional photographer to take some AMAZING photos of your family?
With a little planning, you can take your own family photos that you’ll finally want to hang on the wall and send to your entire family.
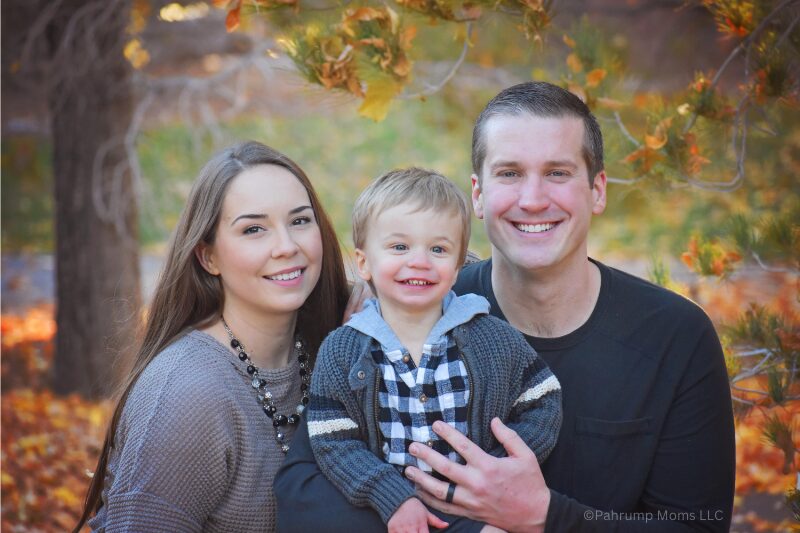
I’ll let you in on a little secret…
I’m just a mom and not a professional photographer.
Photography is simply a hobby of mine. I’ve learned over the years how to take really great photos without spending a fortune on expensive equipment or editing software.
I get it! Taking your own family photos can be a daunting task.
It’s also the day nearly every dad dreads.
Trust me when I say it doesn’t have to be that way!
Keep Reading to Find out Pahrump Moms’ 11 Tips for the Most Amazing DIY Family Photos.
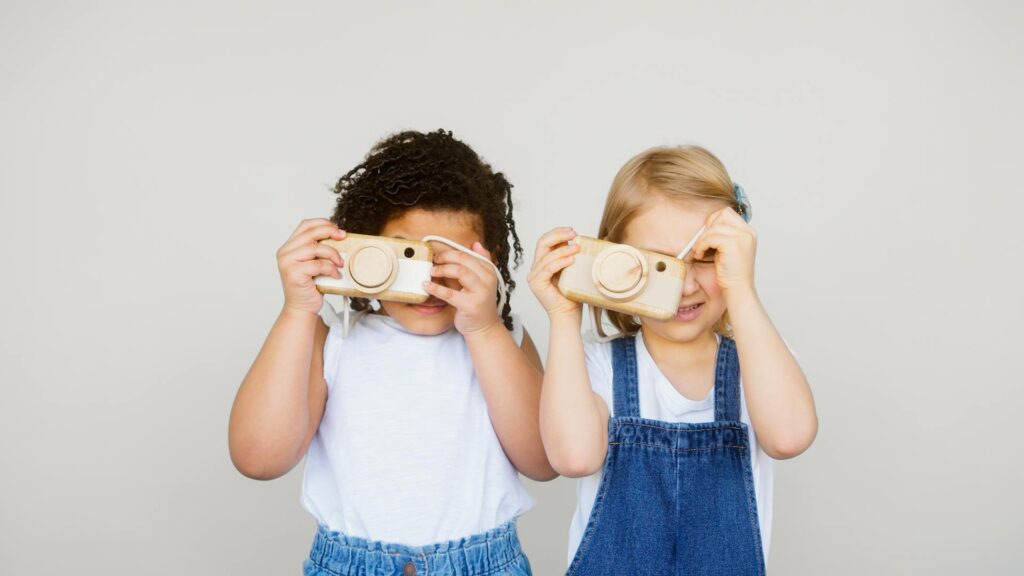
1. Choosing a Camera for DIY Family Photos
The most important thing is to choose a camera that fits your budget.
Photo editing software is becoming easier to use.
Fixing images that are over or under-exposed can be done with a click of a button whether you’re an expert or not!
So, let’s talk about some of your options for cameras.
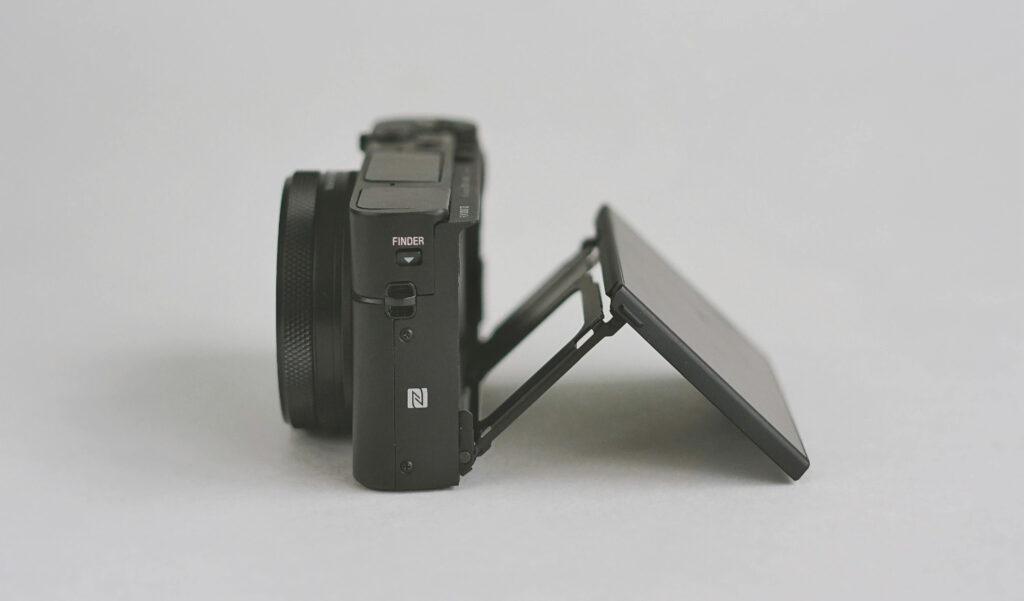
#1 S.M.A.R.T. Phone Camera
This is your cheapest option if you already have a smartphone.
I’ve seen a lot of portraits taken on the newer generation of phones that I would have thought were taken with a professional camera.
#2 Point-and-Shoot
Since I don’t have a smartphone, I personally use the Canon PowerShot G7 X Mark II.
It has been a great compact camera to use on a daily basis. Prices can vary depending on the quality of the camera. I chose mine simply based on the reviews from Amazon.
Check out these other highly rated compact camera options on Amazon:
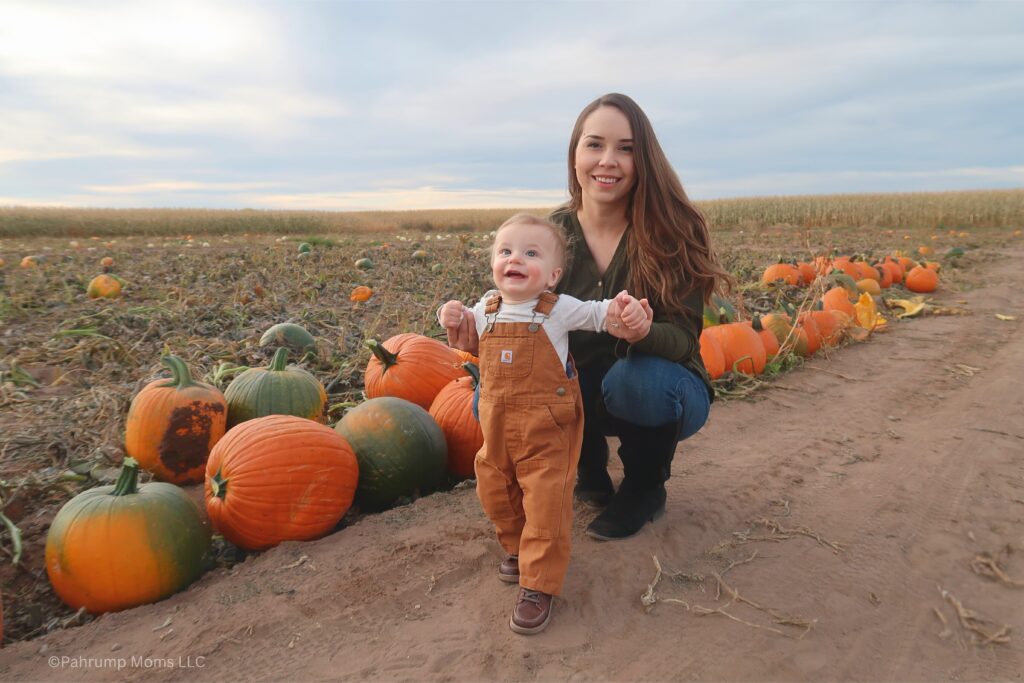
Here are some examples of photos taken with my Canon PowerShot G7 X Mark II.

#3 DSLR or Full-Frame Mirrorless Camera
This can be the most expensive option if you’re looking for the highest quality images.
It may seem a little intimidating to buy what the professionals use.
But there is good news.
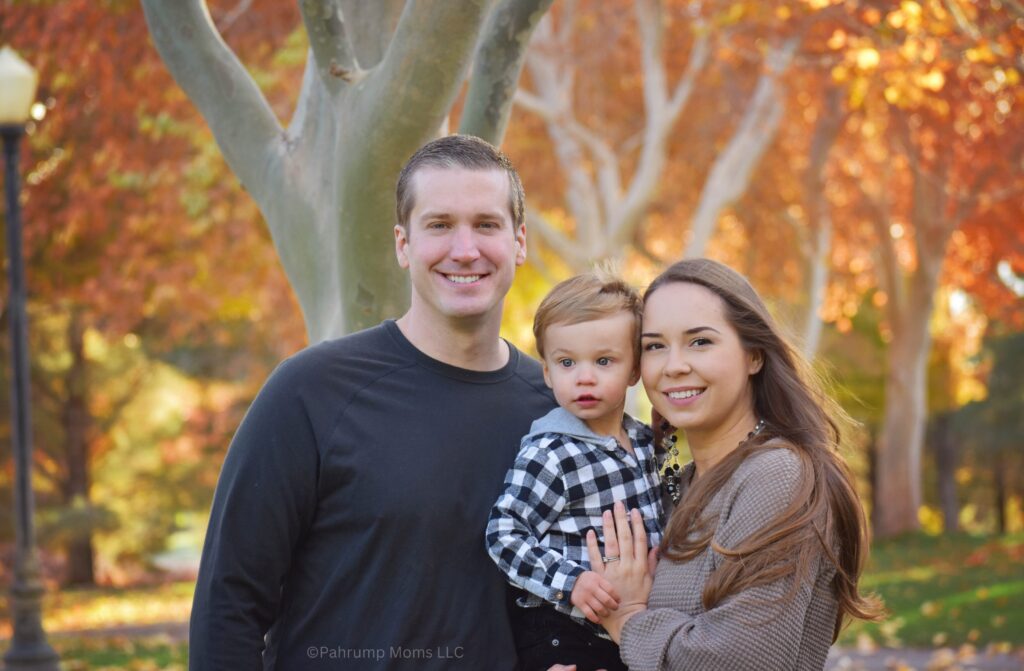
You can easily take advantage of the auto setting and still get amazing photographs!
Don’t know where to start with choosing a DSLR?
Check out the following highly rated DSLR & Full-frame Mirrorless Cameras on Amazon.
- Budget Friendly: Canon EOS Rebel T7 DSLR Camera
- Middle of the Road: Nikon D7500 20.9MP DSLR Camera
- Higher Priced: Sony a7 III (ILCEM3K/B) Full-frame Mirrorless Camera
My Current DSLR Camera
I personally shoot with my fifteen-year-old Canon EOS Rebel T1i. The auto feature is seriously lacking on this model due to its age.
Learning how to operate the camera manually was a challenge I was willing to accept!
It’s a camera I’ve taken portraits of not only my family but many other families as well over the years. I love hearing their reaction when they see their beautiful portraits.

2. Tripods Make Life Easier for DIY Family Photos
It doesn’t matter which camera you choose, having a tripod on hand will make your life so much easier.
This is especially true if you don’t have a patient friend or extended family member to help you get the perfect shot.
Stop stacking as many books as possible to set your camera on and go buy a tripod!
Check out these highly rated tripods on Amazon:
- Camera Option: Amazon Basics 50-inch Lightweight Camera Mount
- Camera & Phone: Victiv Tripod 74” Tripod for Camera & Cell Phone

3. Timers Work but a Remote is Gold
Set the timer on your phone or camera and run as fast as you can!
Ready…Set…Go!
Seriously though, I can’t tell you how many times I’ve done that myself before I finally decided to buy a remote. Imagine the frustration when you realize in every shot your hair is a disheveled mess from sprinting.
Make sure to buy the correct remote that is compatible for your phone or camera!
Check out these highly rated remotes on Amazon:
I’ve even heard that some S.M.A.R.T. Watches have the ability to act as a remote for your phone. Pretty fancy!
You’ll just have to get a little creative with hiding it as you snap the photo.
If your budget is super tight, the timer on your device is honestly all you need if you don’t mind getting the exercise.
4. Best Lighting Options for DIY Family Photos
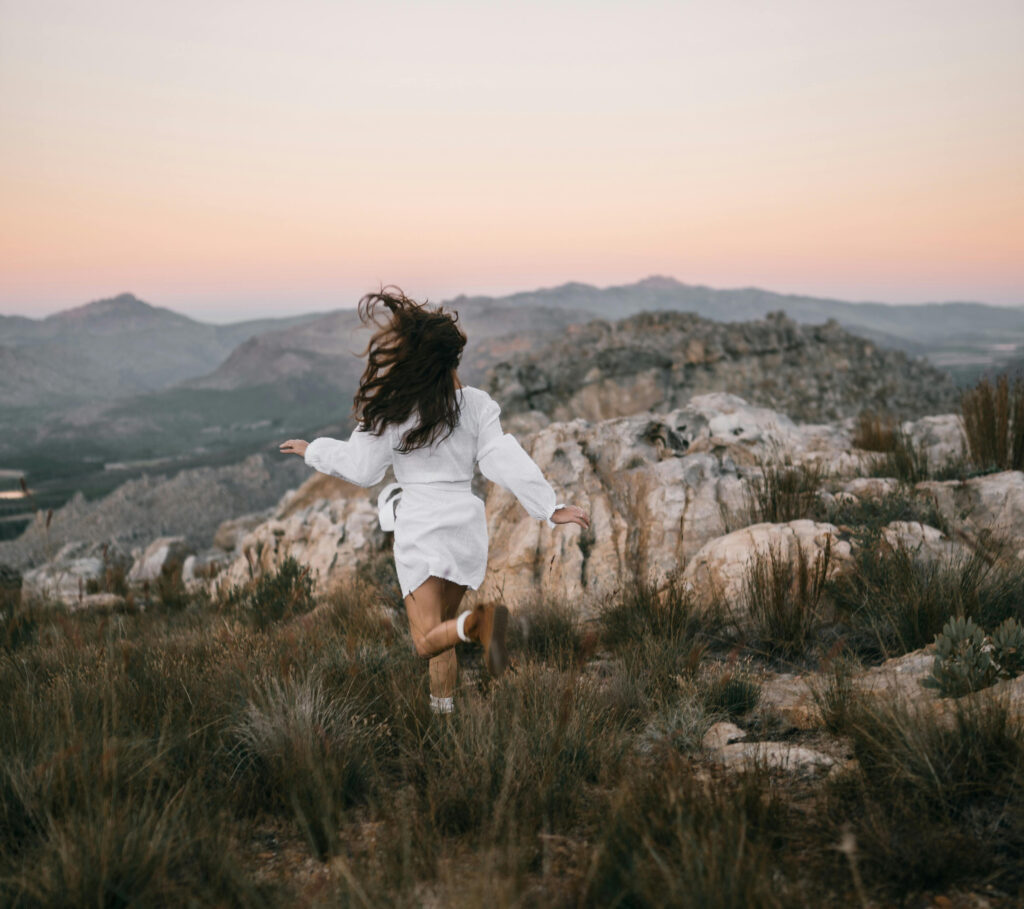
When it comes to lighting, you’ll want to take your photos outdoors and use the sun as your light source.
There are two options to focus on while taking your portrait.
#1 The Golden Hour
If you ask any professional photographer, the first hour after sunrise and the last hour before sunset are the BEST times to take photographs.
Your DIY Family Photo will look even better because of the following reasons:
- An Added Warm Glow from the Sun
- The Light and Shadows are Softer
- Less Likely to Under or Over-Expose Your Images
“The atmosphere filters out blue light when the sun is closer to the horizon, leaving you with a color palette that people associate with feelings of happiness and warmth.”
Need some help determining when the Golden Hour is on a specific date?
You can find out the time of the Sunrise and Sunset on www.almanac.com.
#2 Lots of Shade
If you’re unable to schedule your family portrait during the Golden Hour, I highly recommend just finding lots of shade.
If you choose to take photos under a tree, make sure there are no patches of light coming through to create uneven light on someone’s face.
For local Pahrump moms, Discovery Park has plenty of trees to offer the shade you’ll need for an amazing DIY Family Photo. You can read more about this park in my post, 5 Best Fall Family Things to Do in Pahrump.
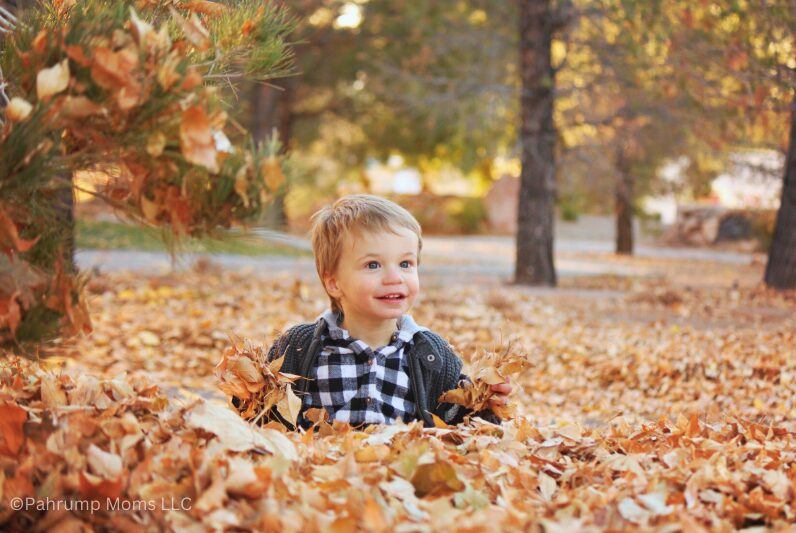
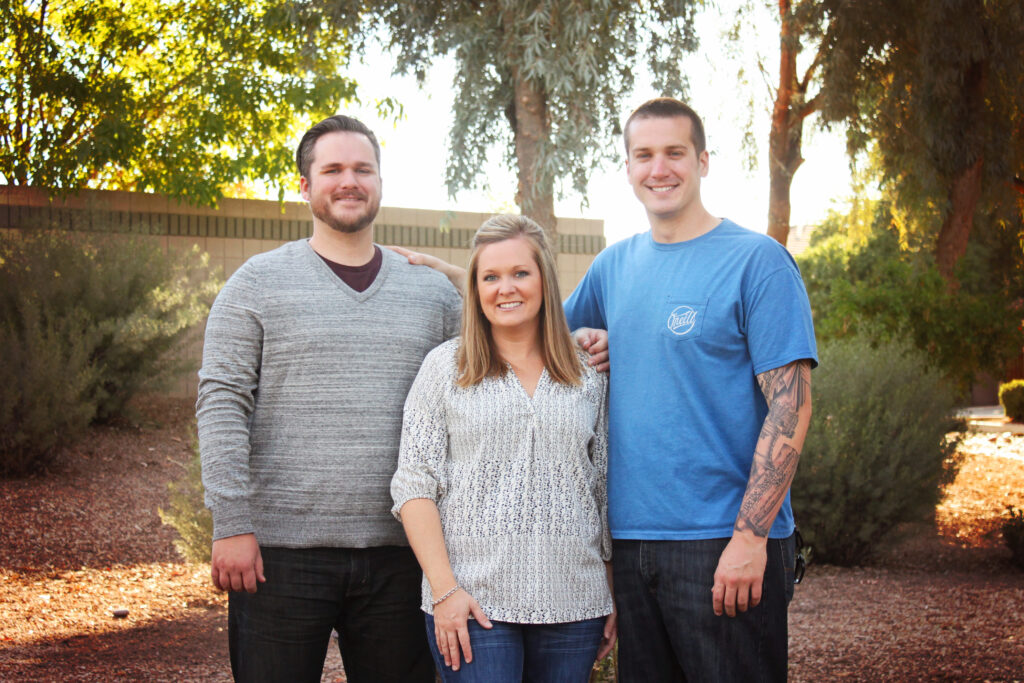
Here’s an example of a portrait I took in the middle of day.
5. Clothing Options Matter
The photo above leads me to the next important tip for Amazing DIY Family Photos.
What you decide to wear in your family photos has a huge impact on the overall look of the portrait. This is true whether you hire a professional photographer or not.
Use the following tips to choose your family’s outfits for photos.
What to Focus On:
- Light, airy colors
- Neutrals including denim, chambray, khaki, light gray, navy, ivory, etc.
- Black paired with neutral colors in the Fall
What to Avoid:
- Bright and bold colors
- Busy patterns
- Don’t be too matchy, choose a color palette!
- Logo and graphic t-shirts
I find that it’s easier to pick out my outfit first, then my husband and the kids last. You’ll want to feel comfortable so pick something you absolutely love!
Pinterest is a great place to start to get ideas for how to color coordinate your outfits.
You can check out my board for some inspiration!
6. Kid Friendly Tips for DIY Family Photos
Bring a Sweet Treat!
Sorry but bribery works great in these situations. Try to avoid bringing anything messy.
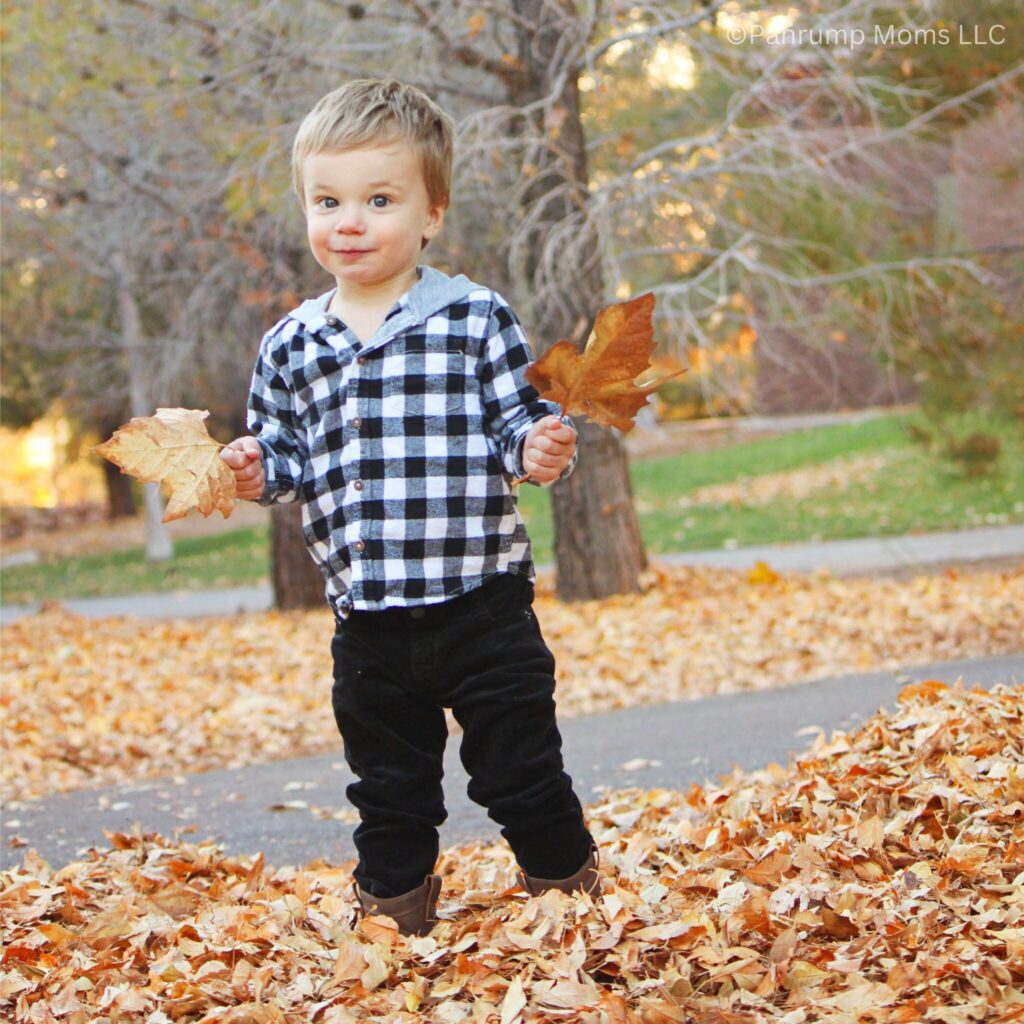
Bring Some Props!
It can be really hard for little ones to stay focused. Give them something to hold. Plus, I think it’s pretty adorable to document their favorite blanket or toy at the time of the photo.
7. Use Prompts to Make it Less Awkward
A fake laugh can go a long way.
Faking a laugh can turn into real giggles pretty quickly.
Say something silly!
This is when my husband will pull out those epic Dad Jokes.
Directional Prompts
You can also say things like “look here” or “what’s that” to get everyone looking in a certain direction.

8. Take Lots of Photos!
I can’t stress this one enough. Taking lots of photos is extremely important!
Eyes will be closed. Someone will make a funny face or it’s just the wrong angle for mama.
Set up your camera for different angles until you find the right one.
9. Build a Pinterest Board of Poses
There’s nothing more frustrating than forgetting all the poses you had planned to attempt.
The ideas are endless on Pinterest and in a pinch your board can be an excellent reference guide while you’re taking your DIY Family Photos.
Why not try a group hug, holding hands or a kiss on the cheek?
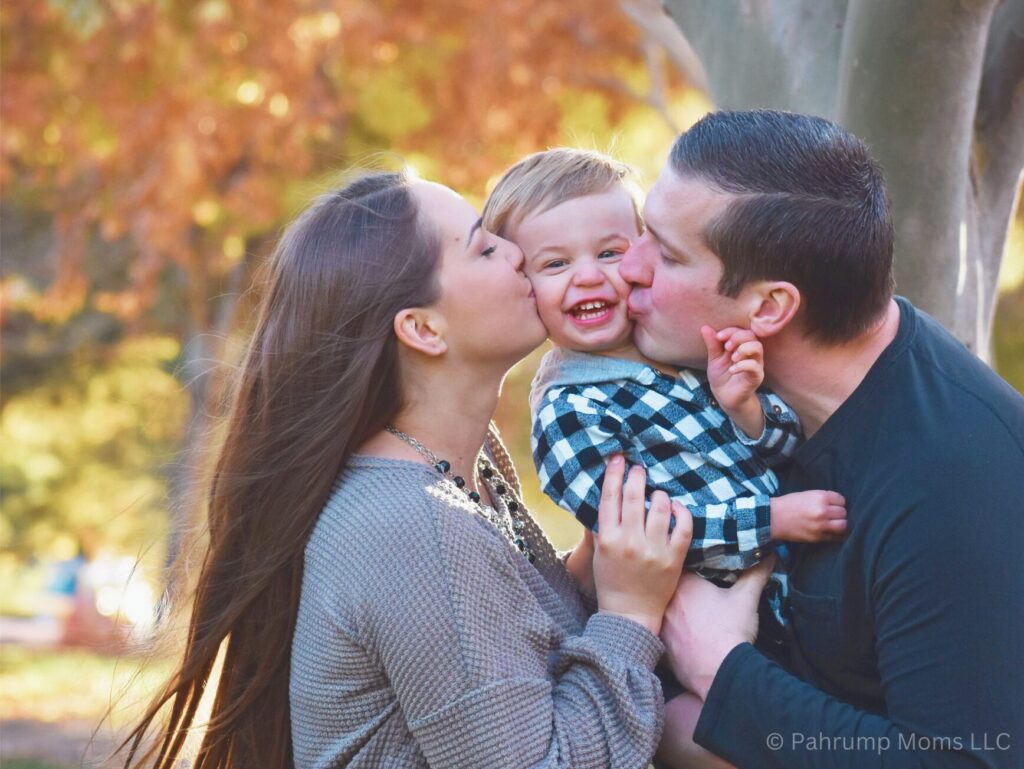
If you haven’t already, follow me on Pinterest to find some great ideas for poses!
10. Have Fun
Seriously, don’t forget to just have fun!
Knowing when the session should end will save you and the kids some tears.
Family Photos will be a great memory if everyone is having a good time. Let dad put on his favorite tunes and enjoy the moment.

11. Editing Your DIY Family Photos
Technology has come a long way in terms of photo editing software. There really are so many options to choose from!
I’ll share with you my two favorites and why.
Canva
- Some of the Features are FREE
- It’s Extremely Quick and Easy to Use
Most of the images and graphics I use on this blog are edited in Canva. I no longer spend countless hours in Photoshop trying to achieve what Canva can do with a click of a button.
Visit their website to create an account at Canva.com.

Lightroom by Adobe
- There’s a free version if you’re using an app on iOS or Android.
- Easy to use with additional Free Downloadable Presets.
Lightroom has more options when it comes to editing all of your photos and the quality is superior to other editing software I’ve used in the past. It’s well worth the price if you’re wanting to make the investment.
To take advantage of all the features, I highly recommend watching tutorials on YouTube.
It won’t be long before you’re editing like a pro!
Download Lightroom at Adobe.com.
Will You Be DIY’ing Family Photos This Year?
Let me know in the comments below! I can’t wait to hear what you have planned.
Thank You for Reading
I hope that my 11 Tips for Amazing DIY Family Photos will inspire you to take your own family portraits this year with confidence!
But please, don’t let me steer you away from hiring a professional photographer if you have the funds.
I absolutely love the portraits we have from the few professional sessions we’ve done.
It takes ALL the pressure off mom for once.

Leave a Reply